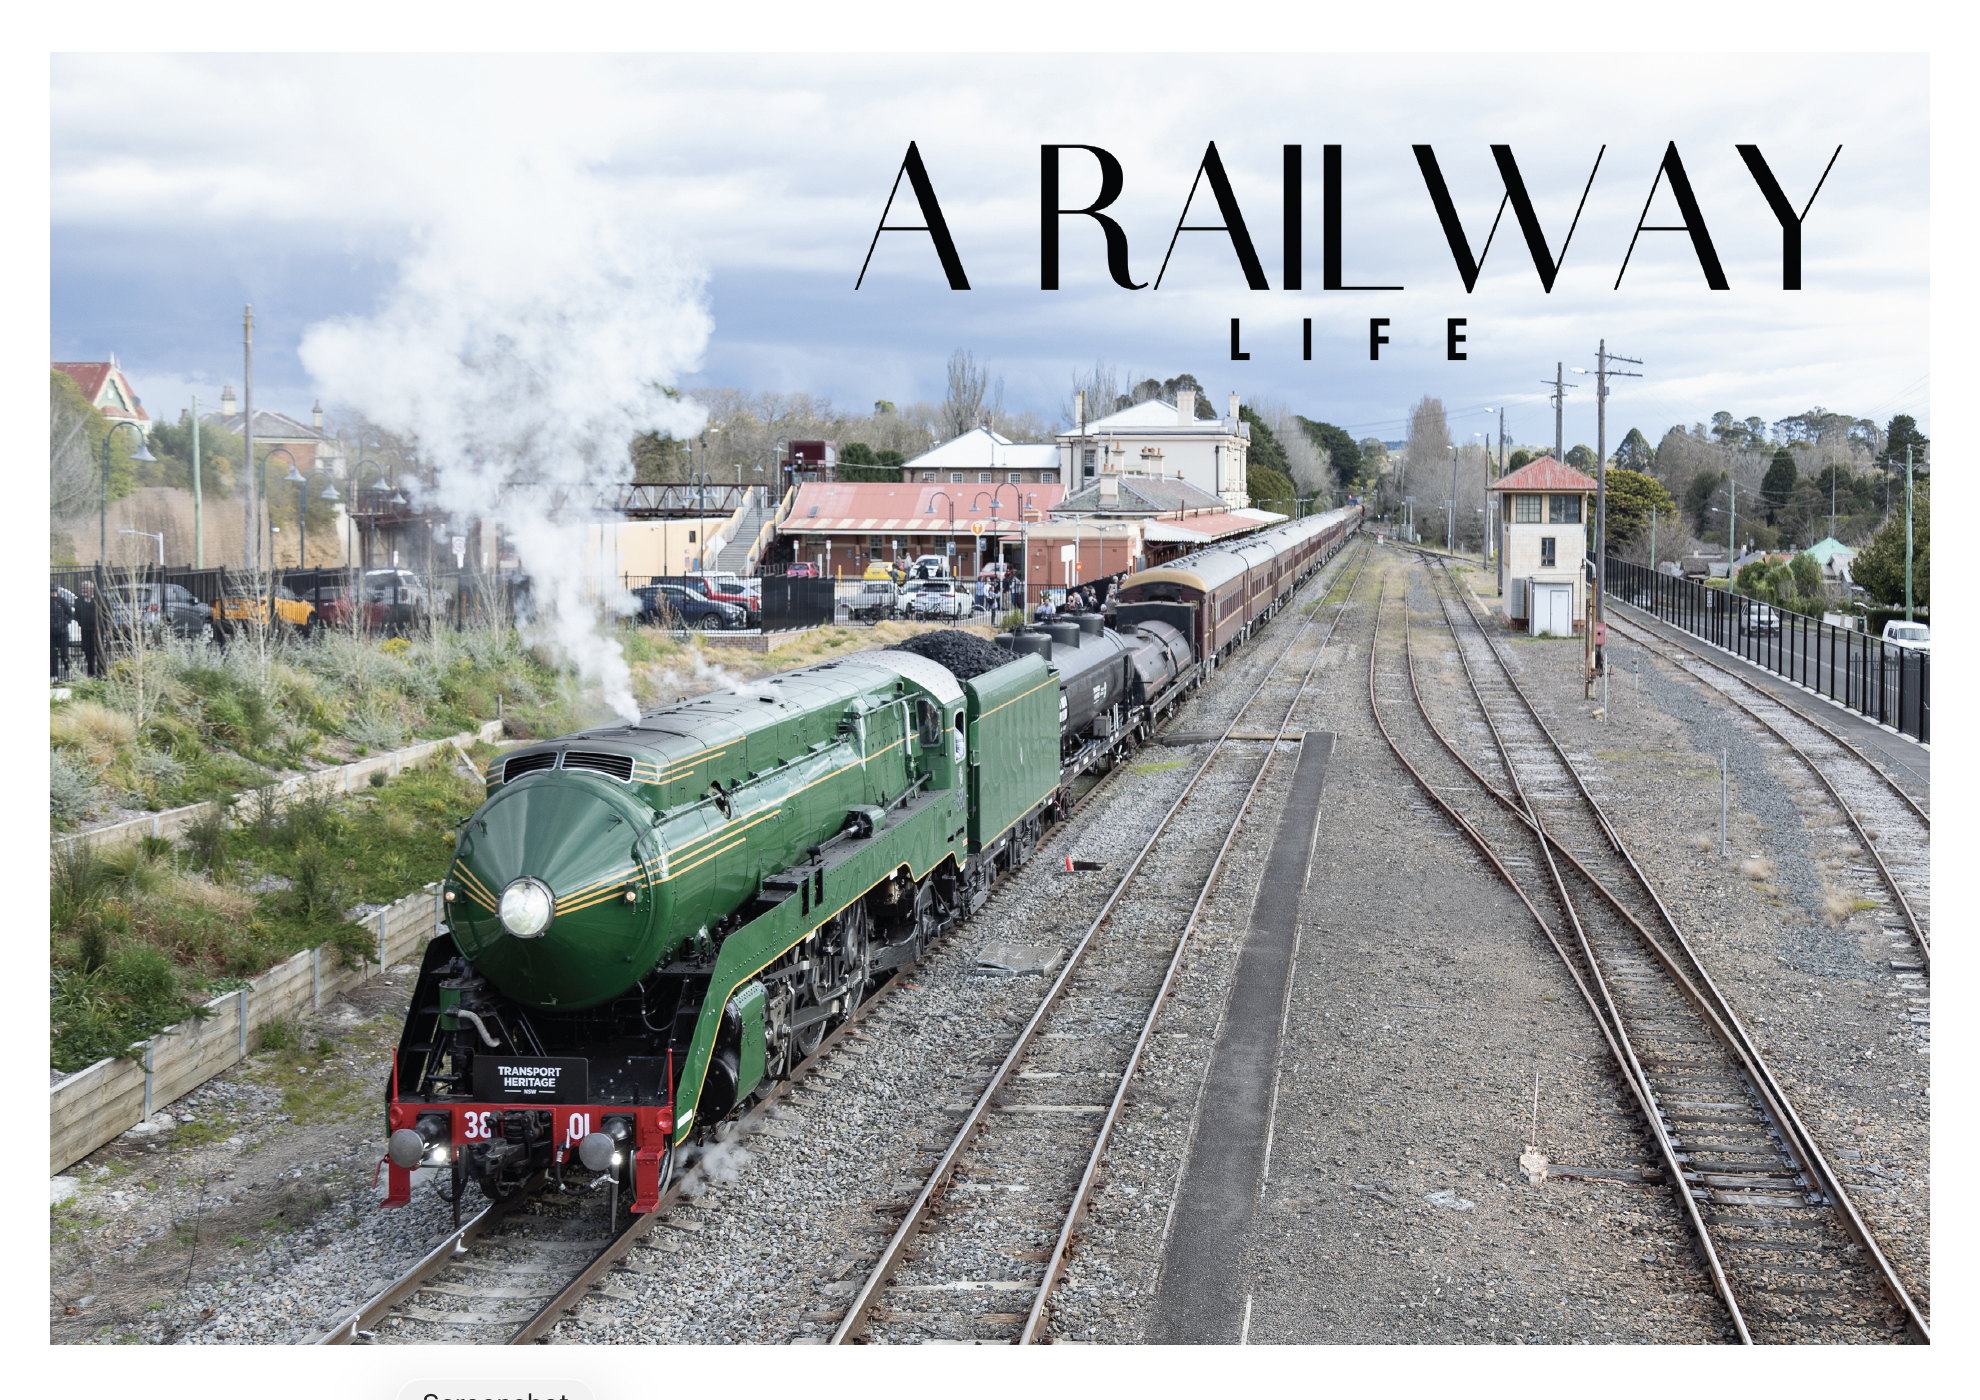
The cover image this year was a late inclusion, 3801 departing Moss Vale on a transfer from Canberra to Thirlmere on September 7th. I’d squeezed this trip in with a couple of friends the day before going to Bali for a week.
I thought it might be of interest to share how I pulled together this year’s calendar.
The process hasn’t really changed much since the second year, when, instead of using Vistaprint, I decided to create my own and have them printed.
Vistaprint is great for a small run, or even just a one off, (they have really good templates) and I still use them for stickers, and other bits and pieces but it was more economical to explore doing things myself.
What is needed regardless of where they get printed, is a set of 13 photos.
I generally try to line up the months of the calendar with photos taken in, or near the same month, although sometimes I just don’t have anything I think is worthy of sharing, or just isn’t a good fit. I aim to use photos from the year I’m preparing it in, but this year there’s a couple of 2025 shots that I wanted to share.
The last few months are always a bit difficult, as the calendar is put together before there’s any opportunity to shoot anything, so they’re additions from earlier in the year.
By August, I’m usually starting to get a few photos assembled in a folder, marked Calendar possibilities, and wondering if there will be enough to actually do something with!
I ended up with 48 contenders in the folder, some had gone in early when I wasn’t sure how I was going to go, and got discarded fairly quickly.
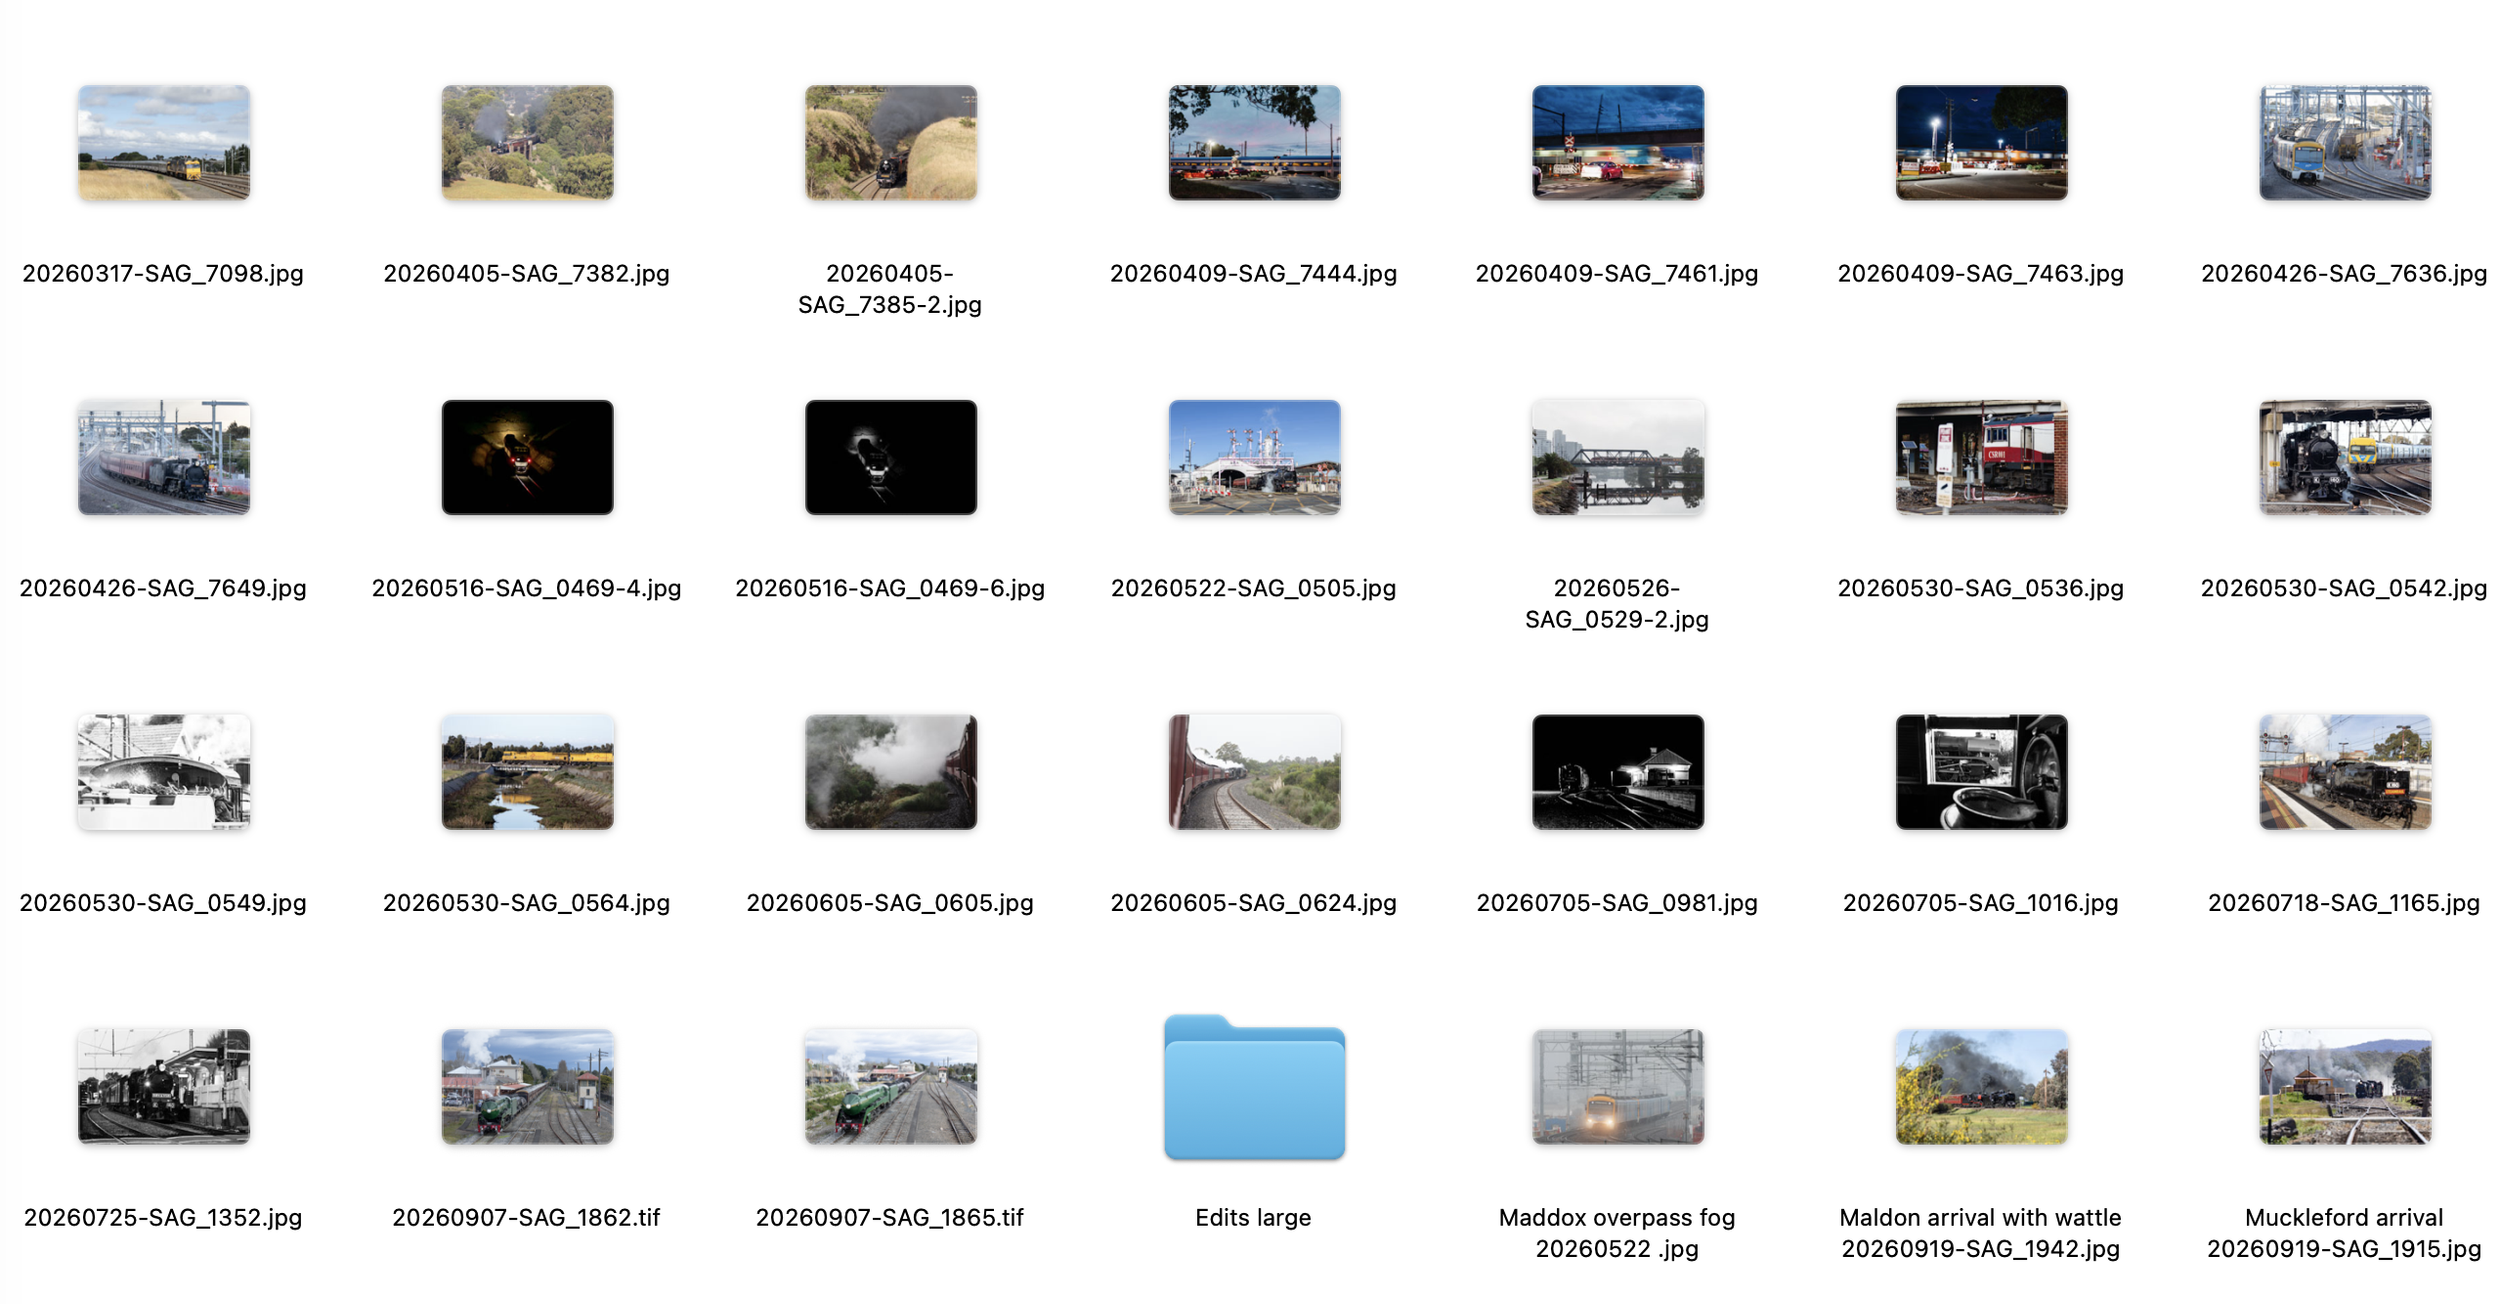
Some of the files I’d put in the possibilities folder, a few of which made it to print.
The last photo to go in the folder from this year was taken on the 19th of September, at the Victorian Goldfields Railway which has slotted in to November, while the cover is also a September shot, earlier in the month either side of a trip to Bali !
Once I make the final selection, I rename the high resolution files (not the JPEGs) so they sit in month order to make things a bit easier to work with.
Next part of the process is pulling it together. I use a program called Planoly for the actual calendar pages, and spent a bit of time fiddling with it to change the font (Raleway is my preferred option), adjust the columns, and make sure the dates are correct.
I’ve had a couple of queries as to why I start the week on Monday, not Sunday.
These days, most on line work calendars start on Monday, so it’s a format I’m used to.
I also like putting the weekend in one piece, rather than two fractured days separated by the five less fun ones.
Once I’m happy it’s correct, I export it as a PDF, making sure it’s transparent so it’s not printed with a white background into Adobe Indesign.
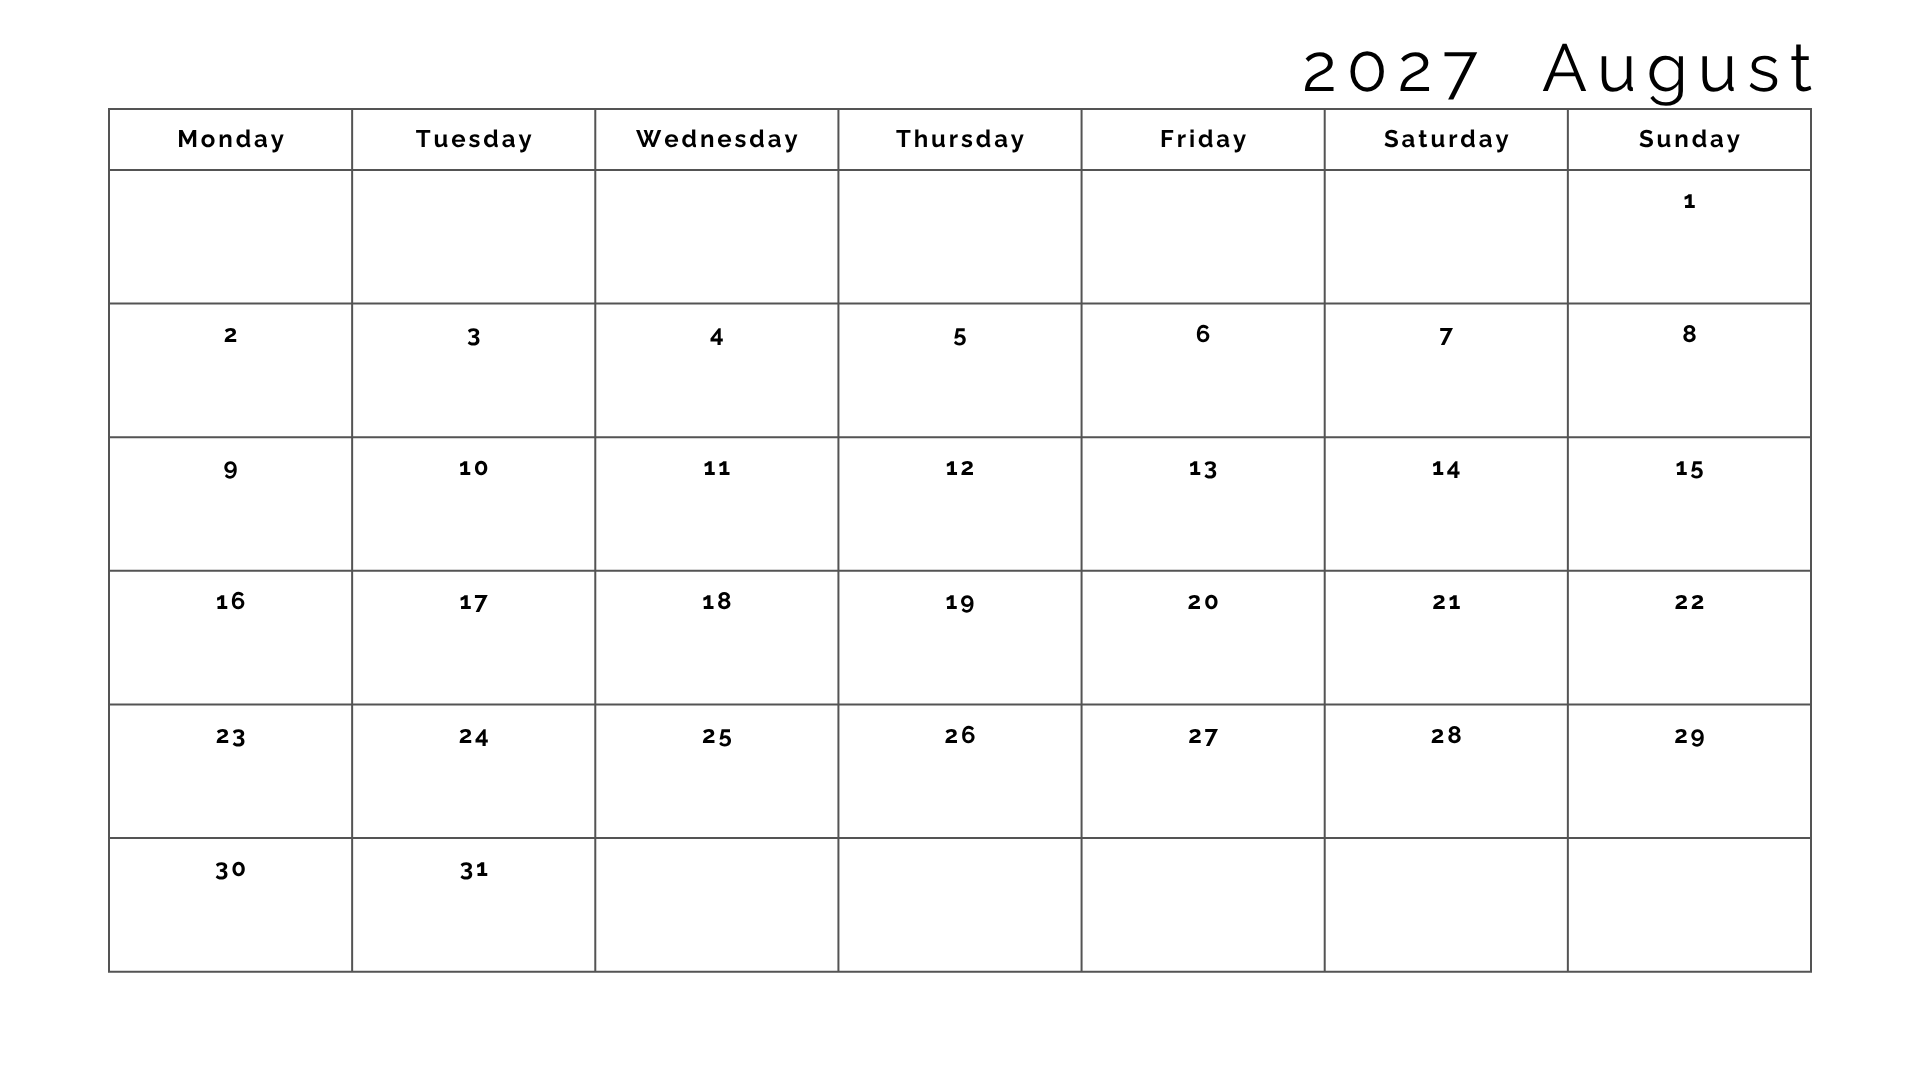
A basic page from the calendar.
I have a template in there for the calendar, which gives the appropriate white border, and trimming marks for the printer. It’s not quite a drag and drop, but not a huge amount of work to get them all in place.
Captions on the photos, check all punctuation and spelling is correct, add the back page and cover text, then export that.
That done, I like to do a print copy to see how it looks, mainly for borders, text contrast, and layout of the cover - I find it better to look at a hard copy than on a screen.
Any last minute layout tweaks, then it’s off to the printer - I’m keeping it very local and have used Documents on Call for the last four calendars, as have a few other local photographers, and I’m very happy with the service!
They print a lot of books too, so that’s something I’ve got in the back of my mind…
Kevin runs a proof copy on the same 250gsm glossy paper the calendar will be printed on so we can both review the semi finished product.
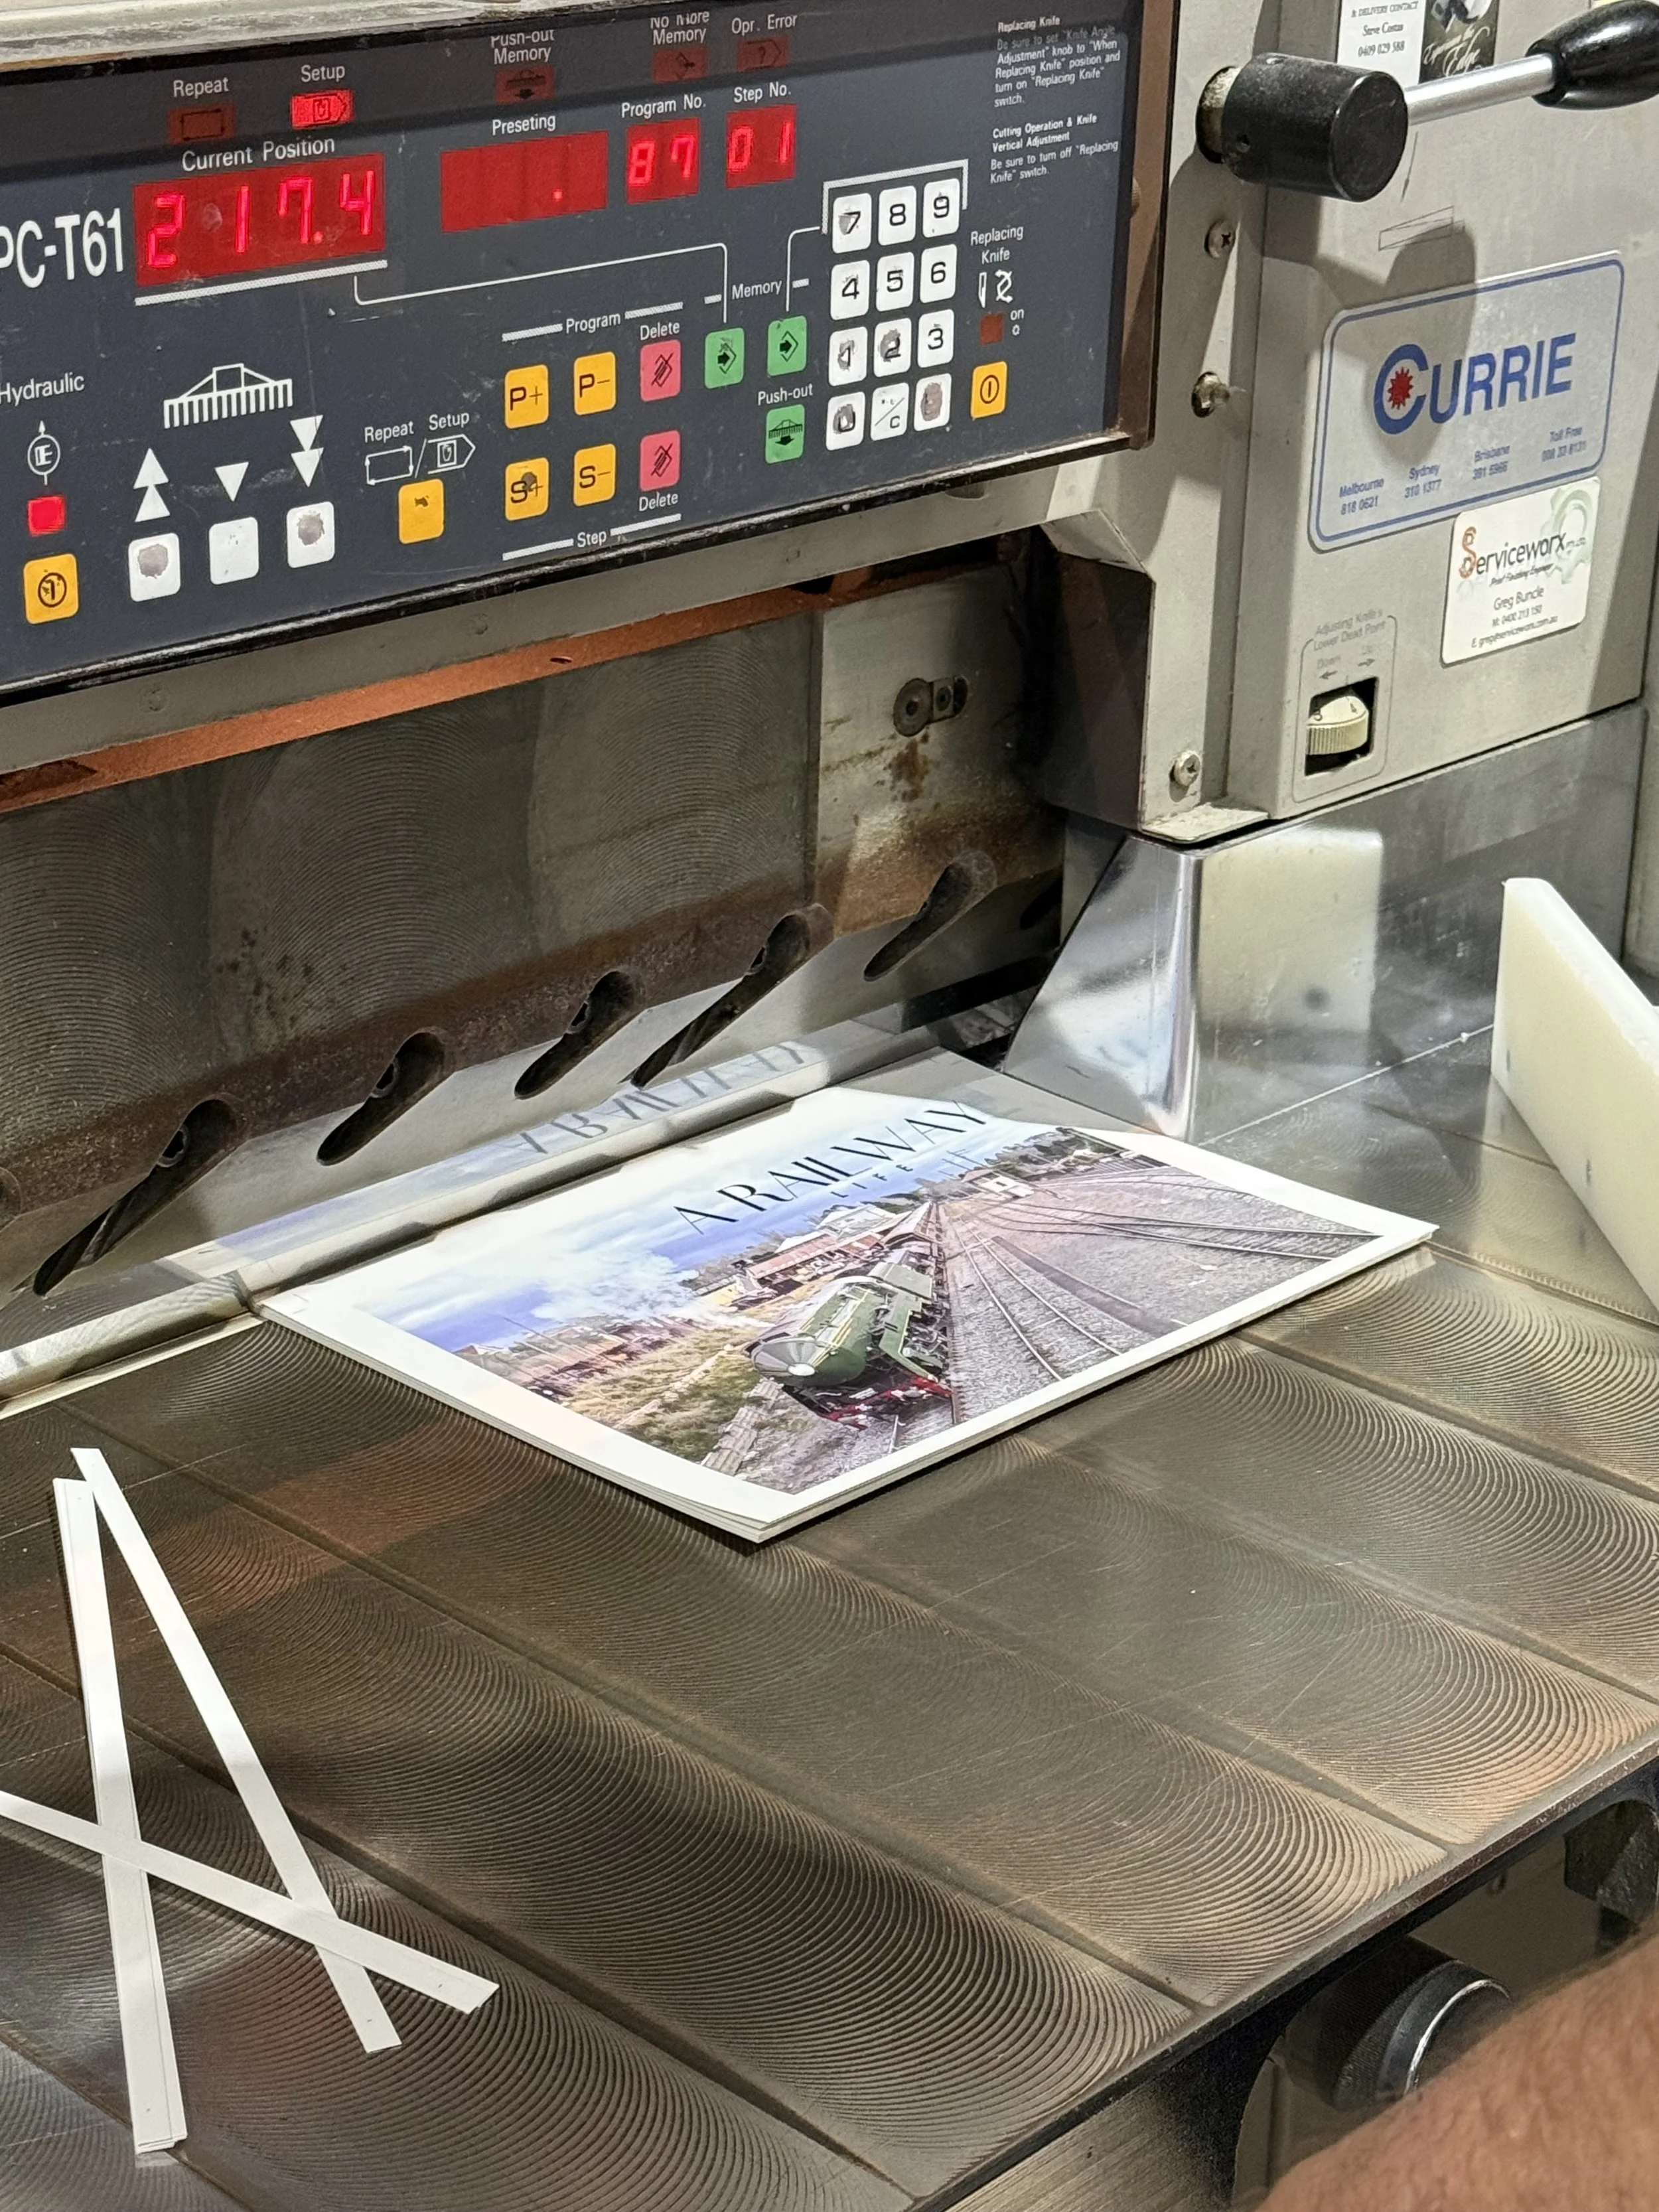
Fingers are well clear of the guards as the first test print is trimmed to finished size.
This year, we both agreed the colours were a bit flat, so after adjustments were made, and the printer given a different colour profile, the second proof came out much better.
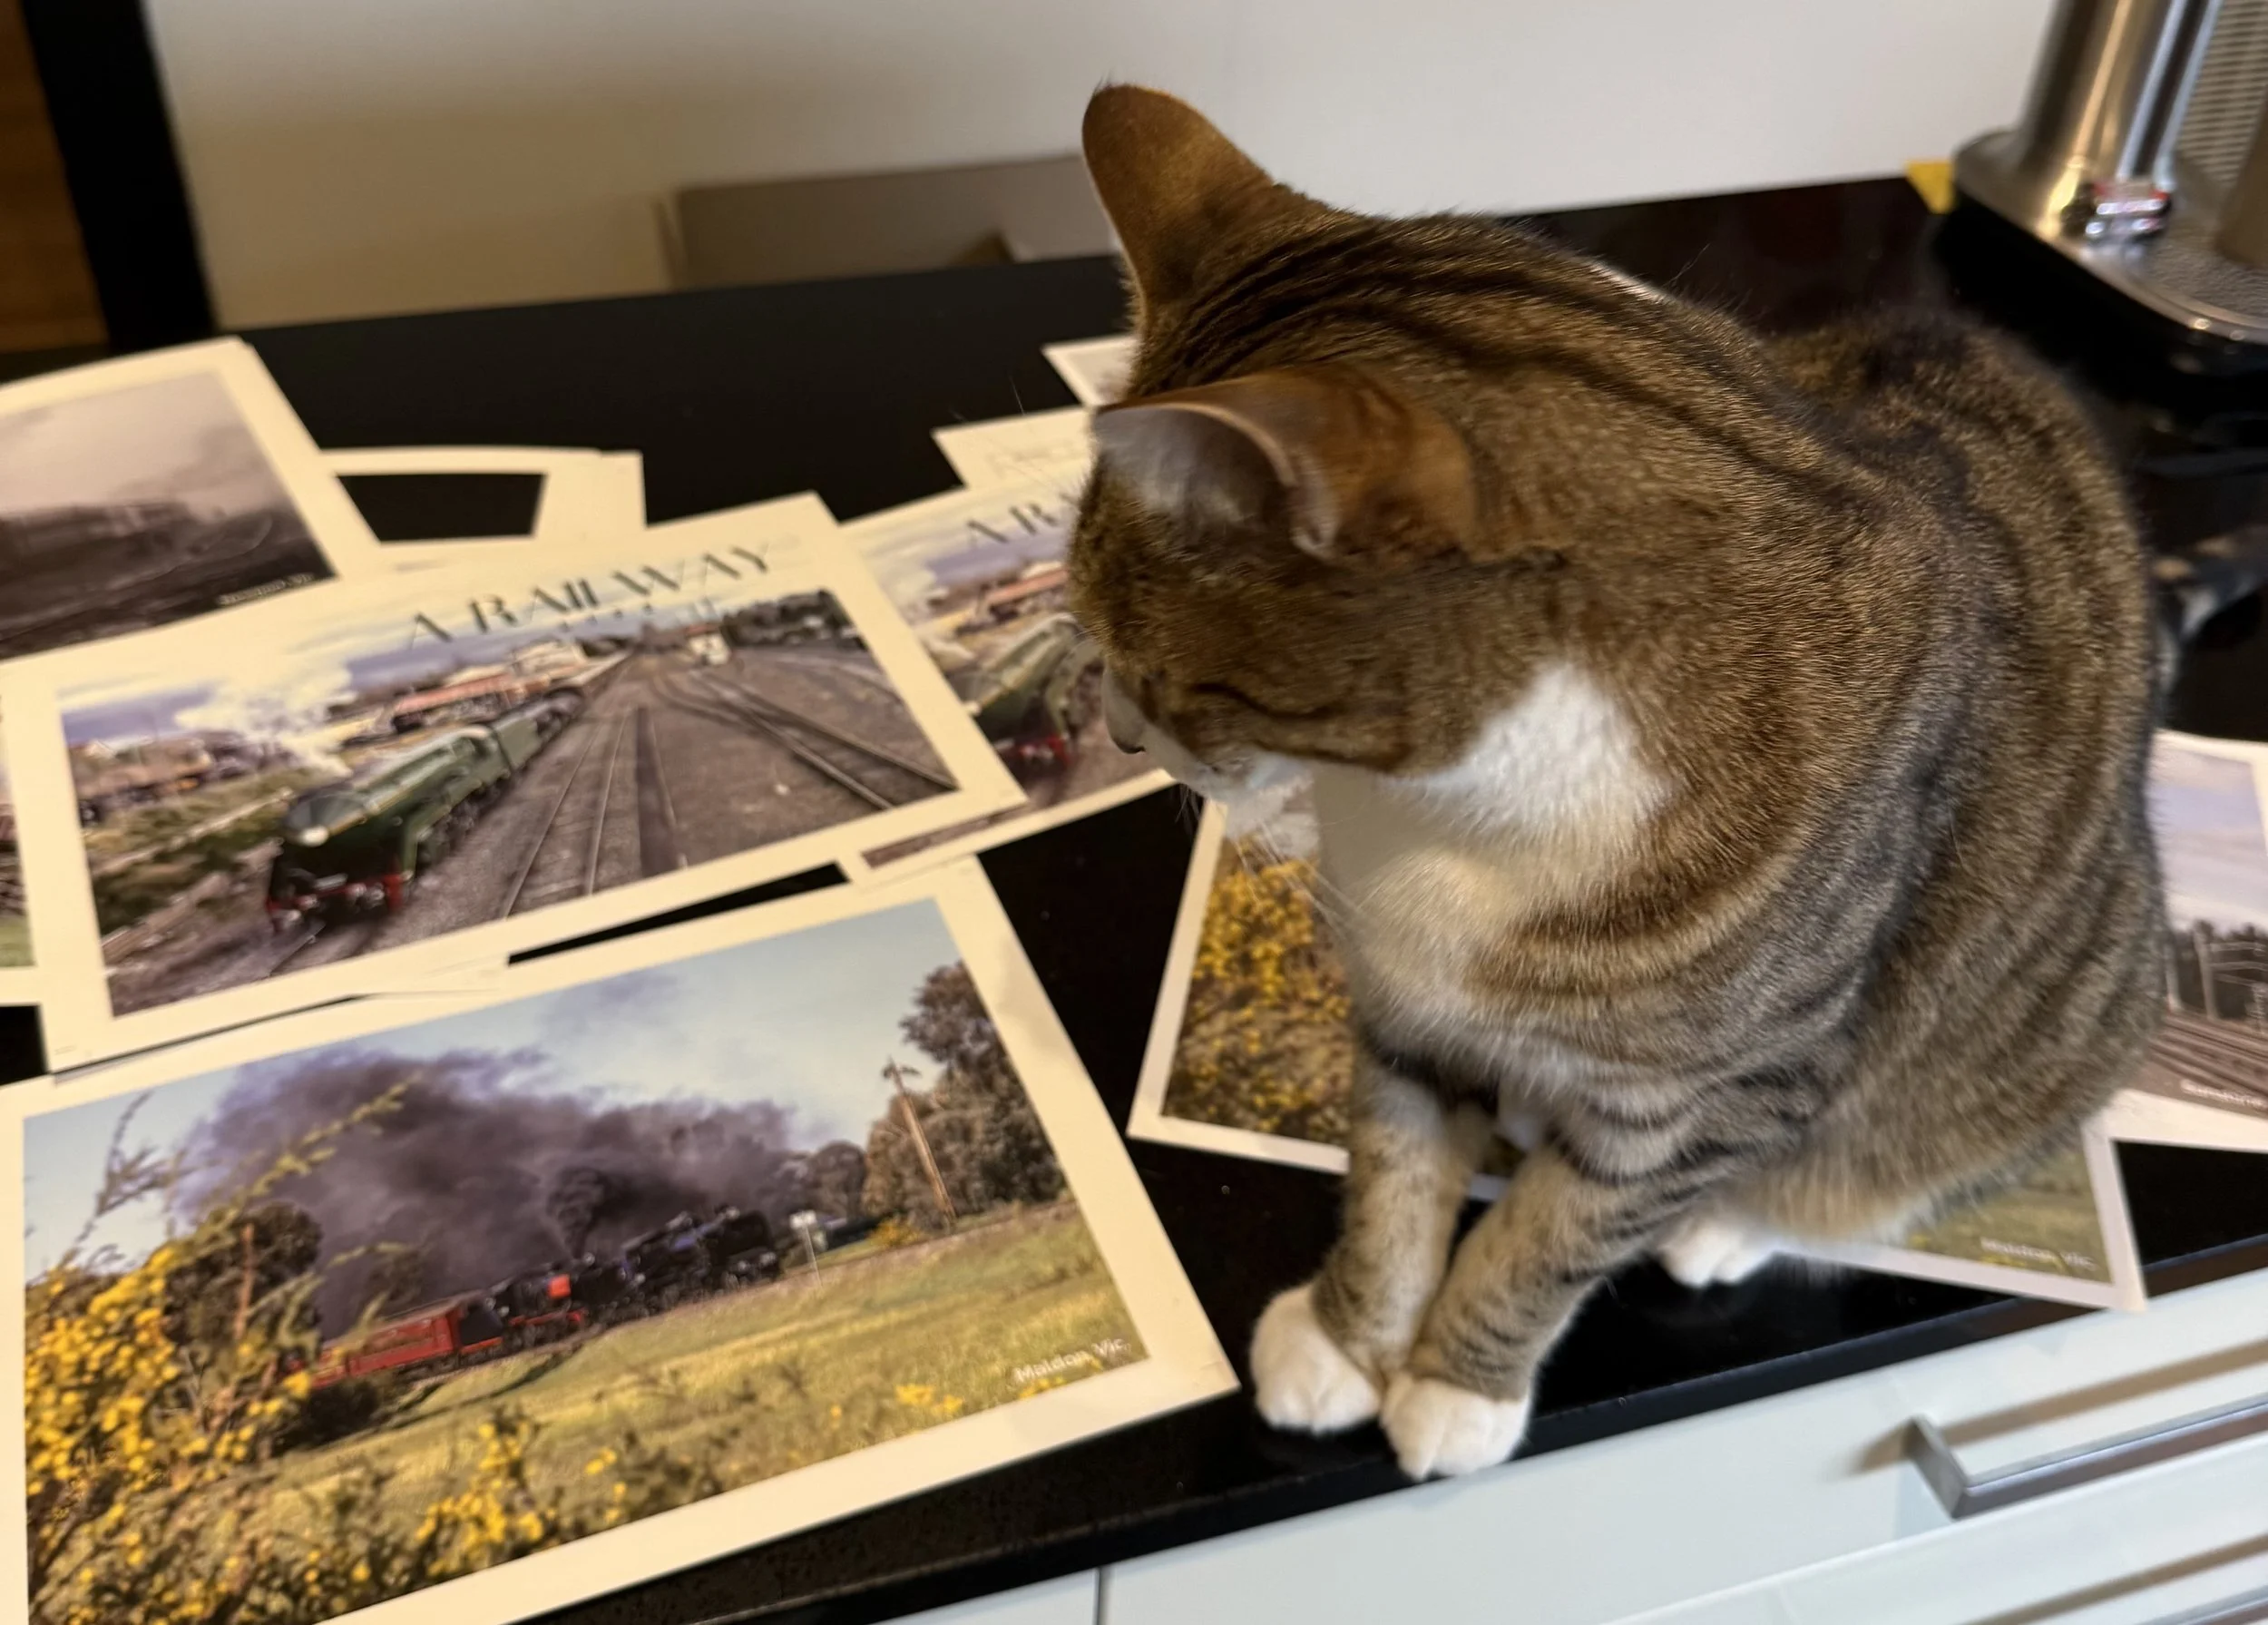
Always keen to be involved with everything, Franklin gives the two sets of proofs his inspection.
Signed off, and ready to print, wire bound on top, and hole for hanging, they join the queue for a production spot.
Meanwhile at home, I’ve been busy folding cardboard boxes, applying stickers and cutting bubble wrap to size to protect them in the post.
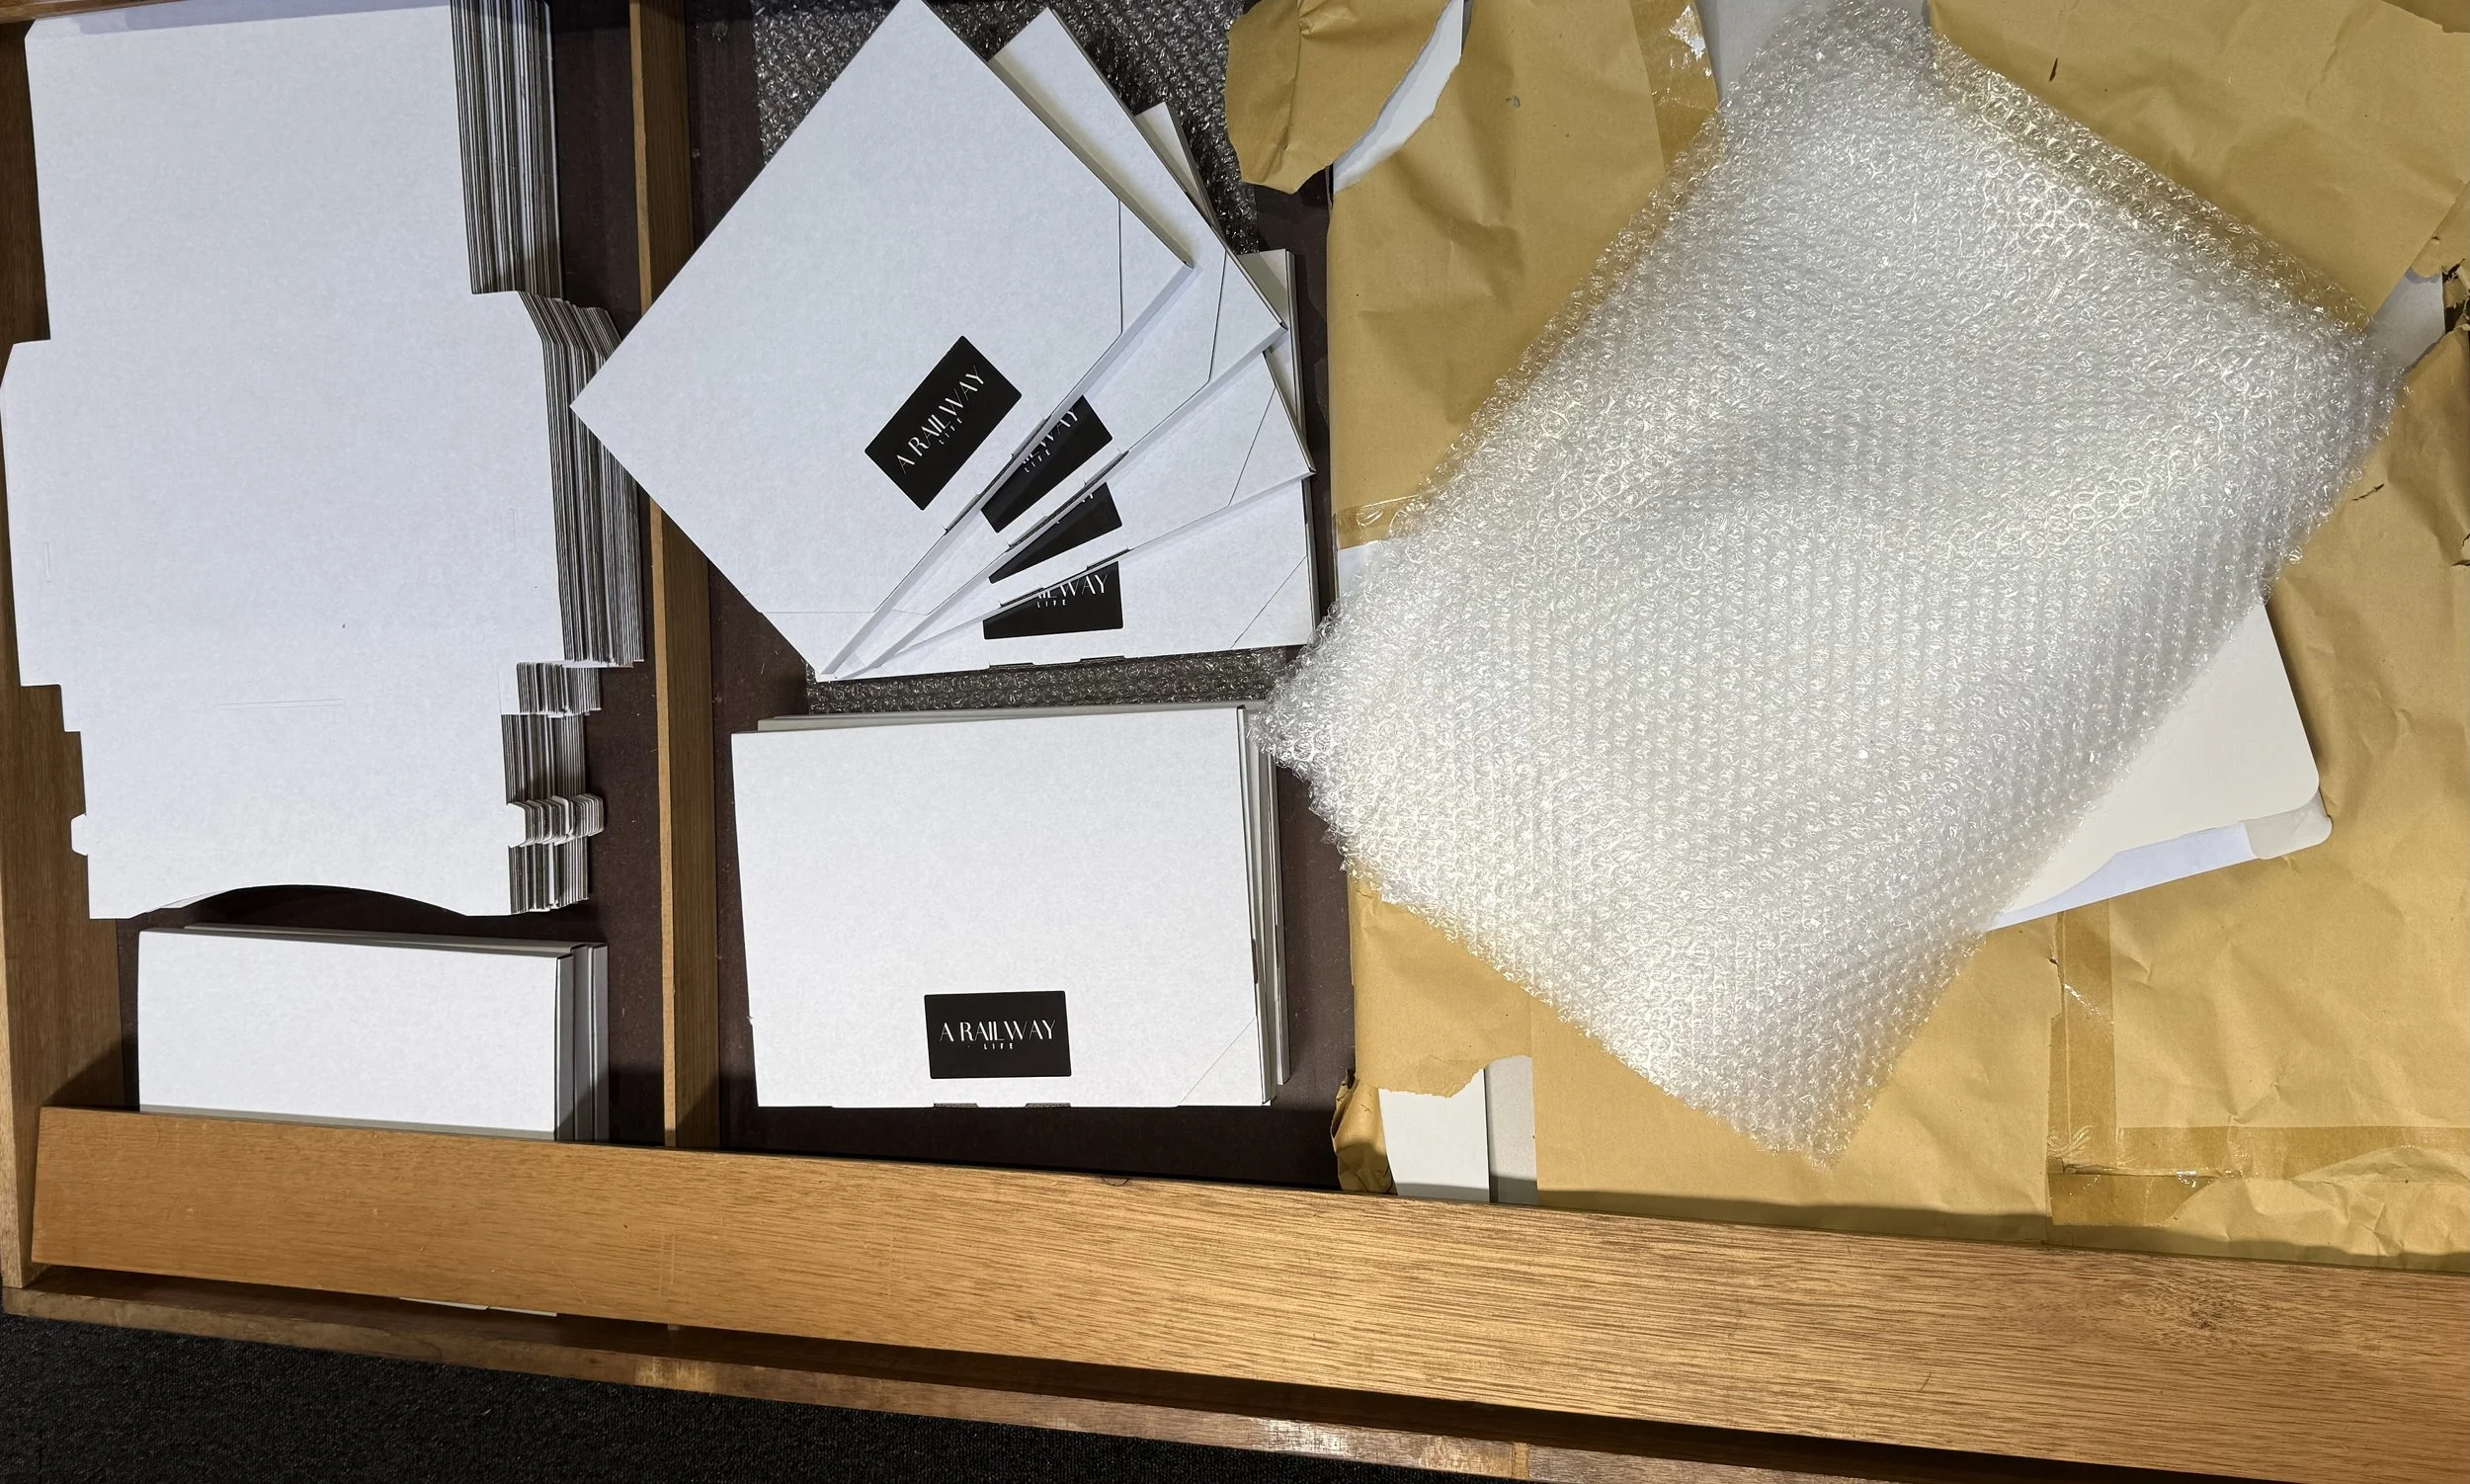
Calendar boxes, flat and folded waiting to be packed and posted out.
Next for me is printing address labels, and posting them out - once they’re collected from the printer.
I hope you’ve found this insight into the process of producing the calendars interesting, and next time you look at yours hanging on the wall, you’ll know what it took to get it there!
The A Railway life 2027 calendar video preview